
Operation · 7 min read
Twin Screw Extruder Startup: The 9-Step Sequence That Protects the Screw
Most screw damage happens in the first ten minutes of a shift, not in the tenth month of service. Here is the sequence we teach at commissioning, with the temperatures and checks that matter. A reference twin screw extruder startup page from Kerke.
A twin screw extruder is started hot and empty, brought to temperature under rotation, and only then fed. Skip a step and the result is either a seized screw or a barrel full of degraded polymer that has to be chiselled out.
The sequence
- Heat the barrel with the screws turning slowlySet every zone to its setpoint and run the screws at 10–15 rpm while heating. A stationary screw in a hot barrel bows; a turning one stays straight.
- Confirm the die and screen are openDie heater on, die holes clear, screen changer in the running position. A blocked die during filling raises pressure faster than the safety cut-out can react.
- Start the pelletizer and water system firstWater ring: water flowing and at temperature before the first pellet arrives. Strand: water bath filled, air knives on.
- Feed at 20% of setpointBring the main feeder up to about 20% and watch the die pressure and melt temperature for two minutes. Torque should settle, not climb.
- Raise to setpoint in stepsIncrease feed in 20% steps, waiting for melt temperature and torque to stabilise between steps. A single jump to 100% is how gearboxes get shock-loaded.
- Set vacuum once the melt is stableApply vacuum after the melt seal is established, typically at 60–70% feed. Applying vacuum earlier pulls powder into the vent.
- Trim screw speed against melt temperatureAdjust rpm to hold melt temperature, not the other way round. On a 65 mm machine, 20 rpm is worth roughly 8–12 °C at the die.
- Check pellet quality before full ratePellet size, fines and moisture. Fixing pelletizing at 70% output is cheap; fixing it at 100% is a lost shift.
- Record the settled parametersBarrel profile, rpm, feeder rates, vacuum, die pressure, torque and output. That record is the reference for the next start and the baseline for troubleshooting.
Barrel profiles that work
| Polymer | Feed zone | Mixing zones | Die | Note |
|---|---|---|---|---|
| PE / PP masterbatch | 60–90 °C | 170–200 °C | 180–195 °C | Keep the feed throat cool to avoid bridging. |
| ABS / HIPS colour | 80–100 °C | 190–215 °C | 200–210 °C | Too hot gives colour streaks, not better dispersion. |
| PA6 / PA66 | 80–100 °C | 240–270 °C | 250–265 °C | Dry to <0.1% or viscosity falls visibly. |
| PC | 90–110 °C | 260–290 °C | 270–285 °C | Dry 120 °C × 4 h; moisture causes splay and IV loss. |
| PVC (rigid) | 60–80 °C | 150–175 °C | 165–180 °C | Residence time, not temperature, is the risk. |
| PLA | 40–60 °C | 170–195 °C | 175–190 °C | Above 200–210 °C molecular weight drops in a step. |
Three startup mistakes that cost the most
1. Filling a cold machine
Feeding before the barrel reaches setpoint packs unmelted powder into the first mixing block. The torque spike either trips the drive or shears a screw element, and the clean-out takes a full day.
2. Starting with an empty hopper and a closed die
With no material in the screw, the die heats unevenly; the first melt through a cold die hole freezes and blocks it. Always confirm die heat soak — 20–30 minutes above 150 °C — before feeding.
3. Running vacuum during filling
The vent is designed for melt, not for powder. Vacuum applied during the filling stage pulls filler into the vacuum line, and the line then needs a full clean before it holds vacuum again.
Shutdown, which is half the story
Purge with a cleaning compound or with the carrier resin alone, at reduced feed, until the extrudate runs clean. Then stop feeding, keep the screws turning at 10–15 rpm while the barrel cools to below 150 °C, and only then stop rotation. Leaving a filled screw to cool in a hot barrel is the second most common cause of a seized machine.
FAQ
How long should the barrel heat soak before feeding?
Until every zone holds setpoint for at least 20 minutes, typically 45–60 minutes from cold on a 65 mm machine. The die needs its own 20–30 minutes because it has far more mass per unit of heater power.
Can I start with the screws at zero rpm and heat?
No. A stationary screw bows as the barrel expands; the bow shows up as metal-to-metal noise and liner scoring. 10–15 rpm is enough to prevent it.
What torque should I expect at full rate?
Typically 60–75% of rated torque on a well-matched line. Sustained values above 85% mean the machine is undersized for the formulation, not that the operator is doing something wrong.
Where these numbers come from
Values are drawn from the Kerke parameter table, commissioning records and service reports from lines in the field. Temperature windows and consumption figures are typical ranges — confirm on your own material before they become a production setpoint.
Send 25–50 kg and we run it on our lab extruder: pellets, running video and a capacity report back in 3–7 days.
Twin screw extruder startup — the short version
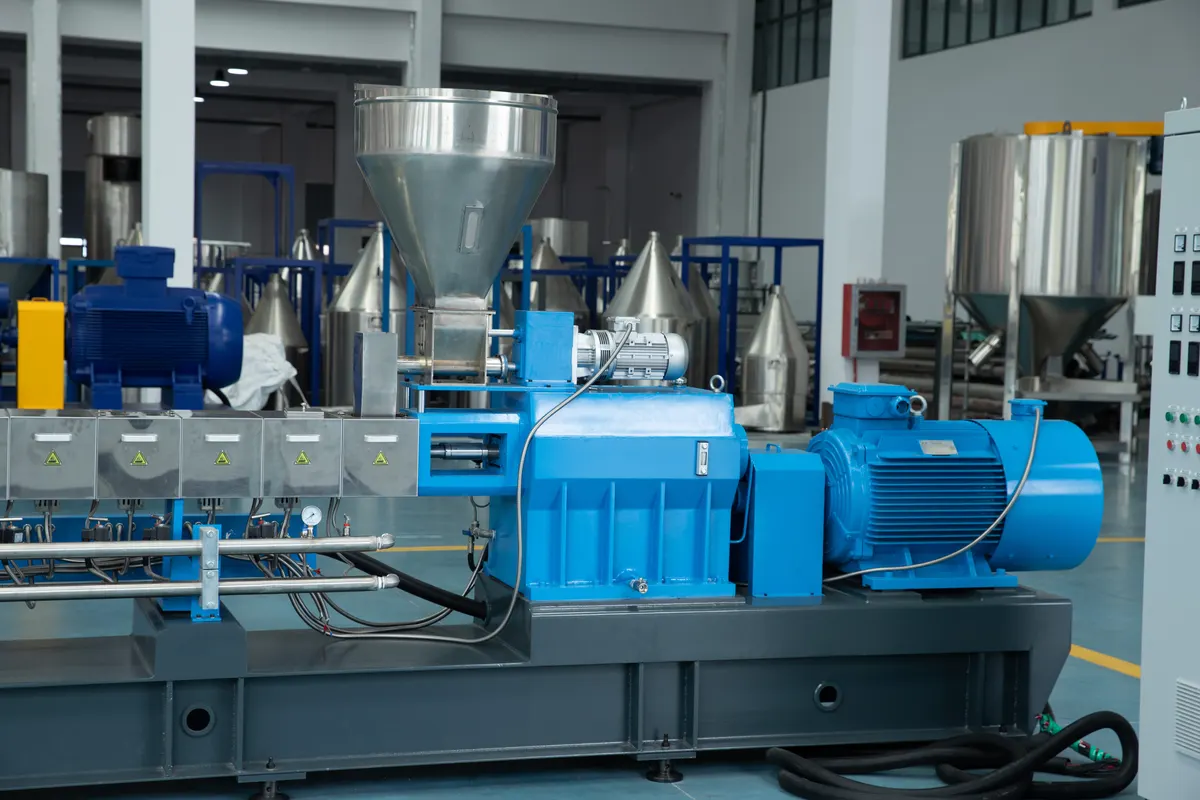
Note on Twin screw extruder startup: every figure on this page is a reference range measured on Kerke's own test line in Nanjing, not a catalogue maximum. If your material differs from the one in the table, send 25–50 kg and we will replace the range with a measured number.
Planning a twin screw extruder startup upgrade this quarter? Send the material and the target output — the configuration comes back within one working day.
Every twin screw extruder startup quotation lists the wear package as a separate line, so its cost is visible from day one.
Twin screw extruder startup questions are answered the same day, in English or Chinese.
Related on this site: Twin screw extruder range · Extrusion lines by application · free extrusion line quotation · Wikipedia: Pelletizing